Streaming Setup Guide
As an Amazon Associate I earn from qualifying purchases.
Building a streaming setup is exciting, but it is easy to pour all your attention into the camera and forget that audio and lighting are what truly make a stream feel professional. Viewers will forgive a modest webcam far more readily than they will tolerate muffled sound or a dim, murky picture. A great stream is the sum of several parts working together, and the good news is you can start simple and upgrade each piece over time as your channel grows and your needs become clearer.
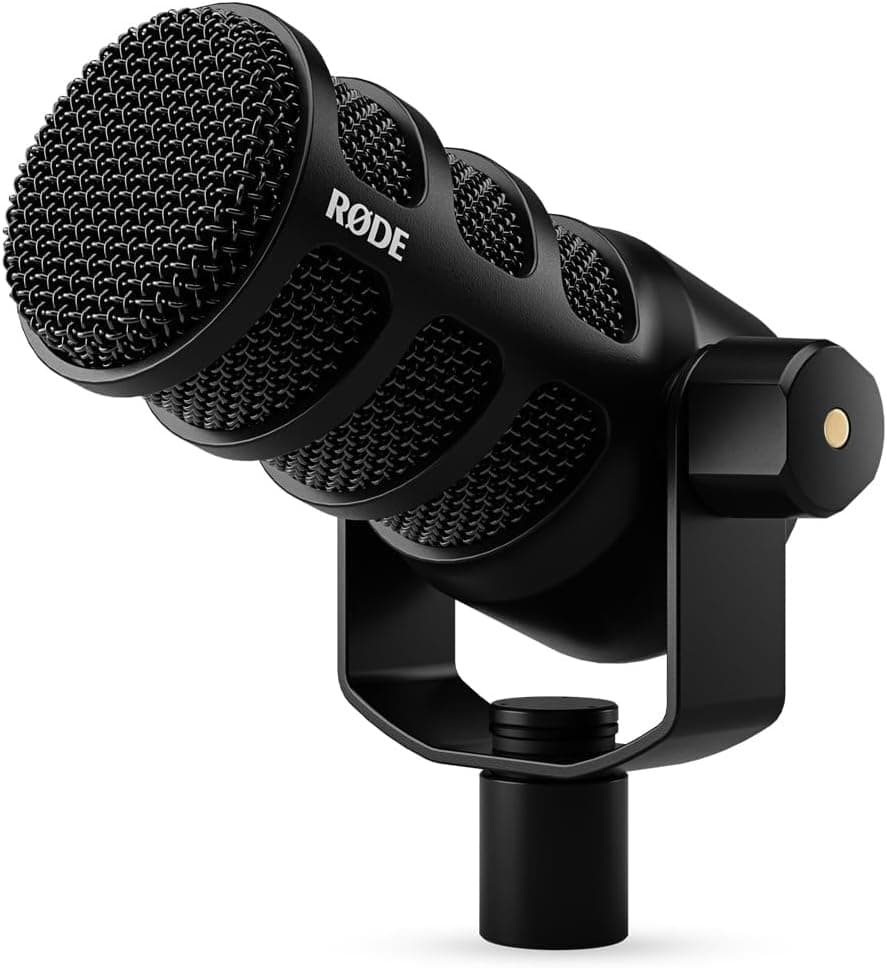
Audio deserves your first and biggest investment, because clear sound keeps viewers watching. A dedicated microphone, ideally a dynamic mic that rejects background noise, will sound dramatically better than the tiny microphone built into a webcam or headset. Position it close to your mouth, use a pop filter to soften harsh plosives, and wear headphones so your own audio does not echo back through your speakers. Clean, present audio makes even a casual stream feel intentional and polished.
Your camera comes next, and you have room to grow here. A good webcam is perfectly respectable for starting out and keeps things simple. As you advance, a mirrorless or DSLR camera connected through a capture device delivers a richer, more cinematic image with beautiful background blur. Whatever camera you use, mount it at roughly eye level and frame yourself with a little space above your head so the shot feels natural and flattering rather than cramped or awkward.
Lighting is the most underrated part of any streaming setup and often the cheapest way to look instantly more professional. Even a single soft light placed in front of you, slightly to one side, transforms a flat, shadowy image into a bright, engaging one. Avoid sitting with a window or lamp behind you, which throws your face into shadow. A key light plus some gentle fill, and control over harsh overhead lighting, will do more for your image quality than an expensive camera in the dark.
On the software side, free broadcasting tools give you everything you need to get started. They let you arrange scenes, overlay your camera on gameplay or slides, add alerts and graphics, and switch between layouts on the fly. Take time to build a few clean scenes before you go live, such as a starting screen, your main layout, and a be-right-back screen, so your stream feels organized. Keep overlays tasteful, since cluttered screens distract from you and your content.
Finally, do not overlook the practical foundations, starting with your internet connection. A stable, wired connection with enough upload bandwidth is essential for a smooth, uninterrupted stream, and it matters far more than raw download speed. Test your setup with a private stream before broadcasting publicly, check that your audio and video are in sync, and confirm your levels look strong. Start with solid audio, decent lighting, a reliable connection, and clean scenes, then refine and expand your setup as you learn what your audience responds to and what your content actually needs.