Microphone Placement Tips for a Warm, Professional Sound
As an Amazon Associate I earn from qualifying purchases.
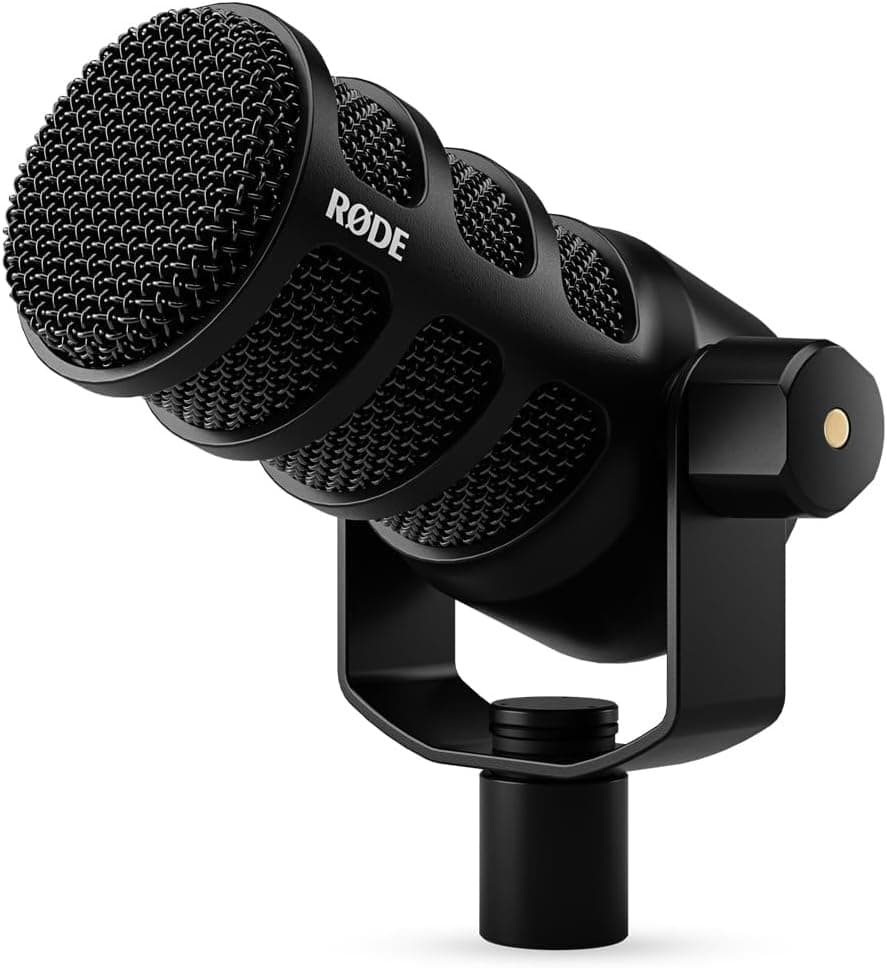
You can own the finest microphone in the world and still sound amateurish if you place it poorly. Mic placement is one of the highest-impact skills in audio, and unlike gear, it costs nothing to master. A few centimeters of distance or a slight change in angle can be the difference between a thin, distant, echoey voice and a rich, intimate, professional one. Once you internalize a handful of placement principles, you will hear the improvement in every recording you make.
Distance is the first and most important variable. For spoken-word recording, you generally want to be close to the mic, often just a hand's width or so away. Recording close captures a warm, full, present voice and, crucially, keeps your voice loud relative to the room, which minimizes echo and background noise. Back away, and your voice grows thin and distant while the room's imperfections rush in. Find a comfortable close distance you can maintain consistently throughout a session.
There is a related phenomenon worth understanding called the proximity effect. As you move very close to most directional microphones, the bass in your voice increases, giving that deep, radio-announcer warmth. This can sound wonderful, but get too close and your voice becomes boomy and muddy. Experiment to find the sweet spot where your voice sounds full and warm without turning into an indistinct rumble, and then train yourself to stay there.
Angle and positioning relative to your mouth help you control harshness. Instead of speaking directly into the front of the mic, try positioning it slightly off to the side or above and angled toward your mouth. This keeps you close for a strong signal while steering the harsh bursts of air from p and b sounds past the microphone rather than straight into it. Pairing this angled approach with a pop filter tames plosives beautifully and gives you a smooth, controlled sound.
Where you sit in the room matters just as much as where the mic sits relative to your face. Avoid recording in the dead center of a room or with a bare wall directly behind you, since reflections bounce back into the mic and muddy your voice. Position yourself so the mic points toward a soft, absorptive area, such as a corner filled with soft furnishings or a bookshelf full of books. Combining good in-room position with close mic technique dramatically cleans up your sound before you record a single word.
Finally, prioritize consistency, because the best placement means little if it drifts mid-session. Set up a boom arm so the mic stays put and does not sag, mark or remember your ideal distance and angle, and try not to lean in and out as you talk. Do a short test recording at the start of every session and listen back critically, adjusting until your voice sounds warm, close, and clear. Once you dial in a placement that works for your voice and your room, replicate it every time, and your recordings will sound reliably professional session after session.