How to Treat a Room Acoustically for Clean Recordings
Published How we research

If your recordings sound echoey, hollow, or distant, the culprit is almost always your room rather than your microphone. Acoustic treatment is the art of controlling how sound behaves inside a space so that what your mic captures is your voice, not a jumble of reflections bouncing off hard surfaces. The encouraging news is that treating a room for voice work is far simpler and cheaper than treating a full music studio, and even modest efforts produce dramatic improvements in clarity.
Products from this article
The highest-scoring picks from the buying guides this article links to. Scores are our editorial assessment, not customer ratings.
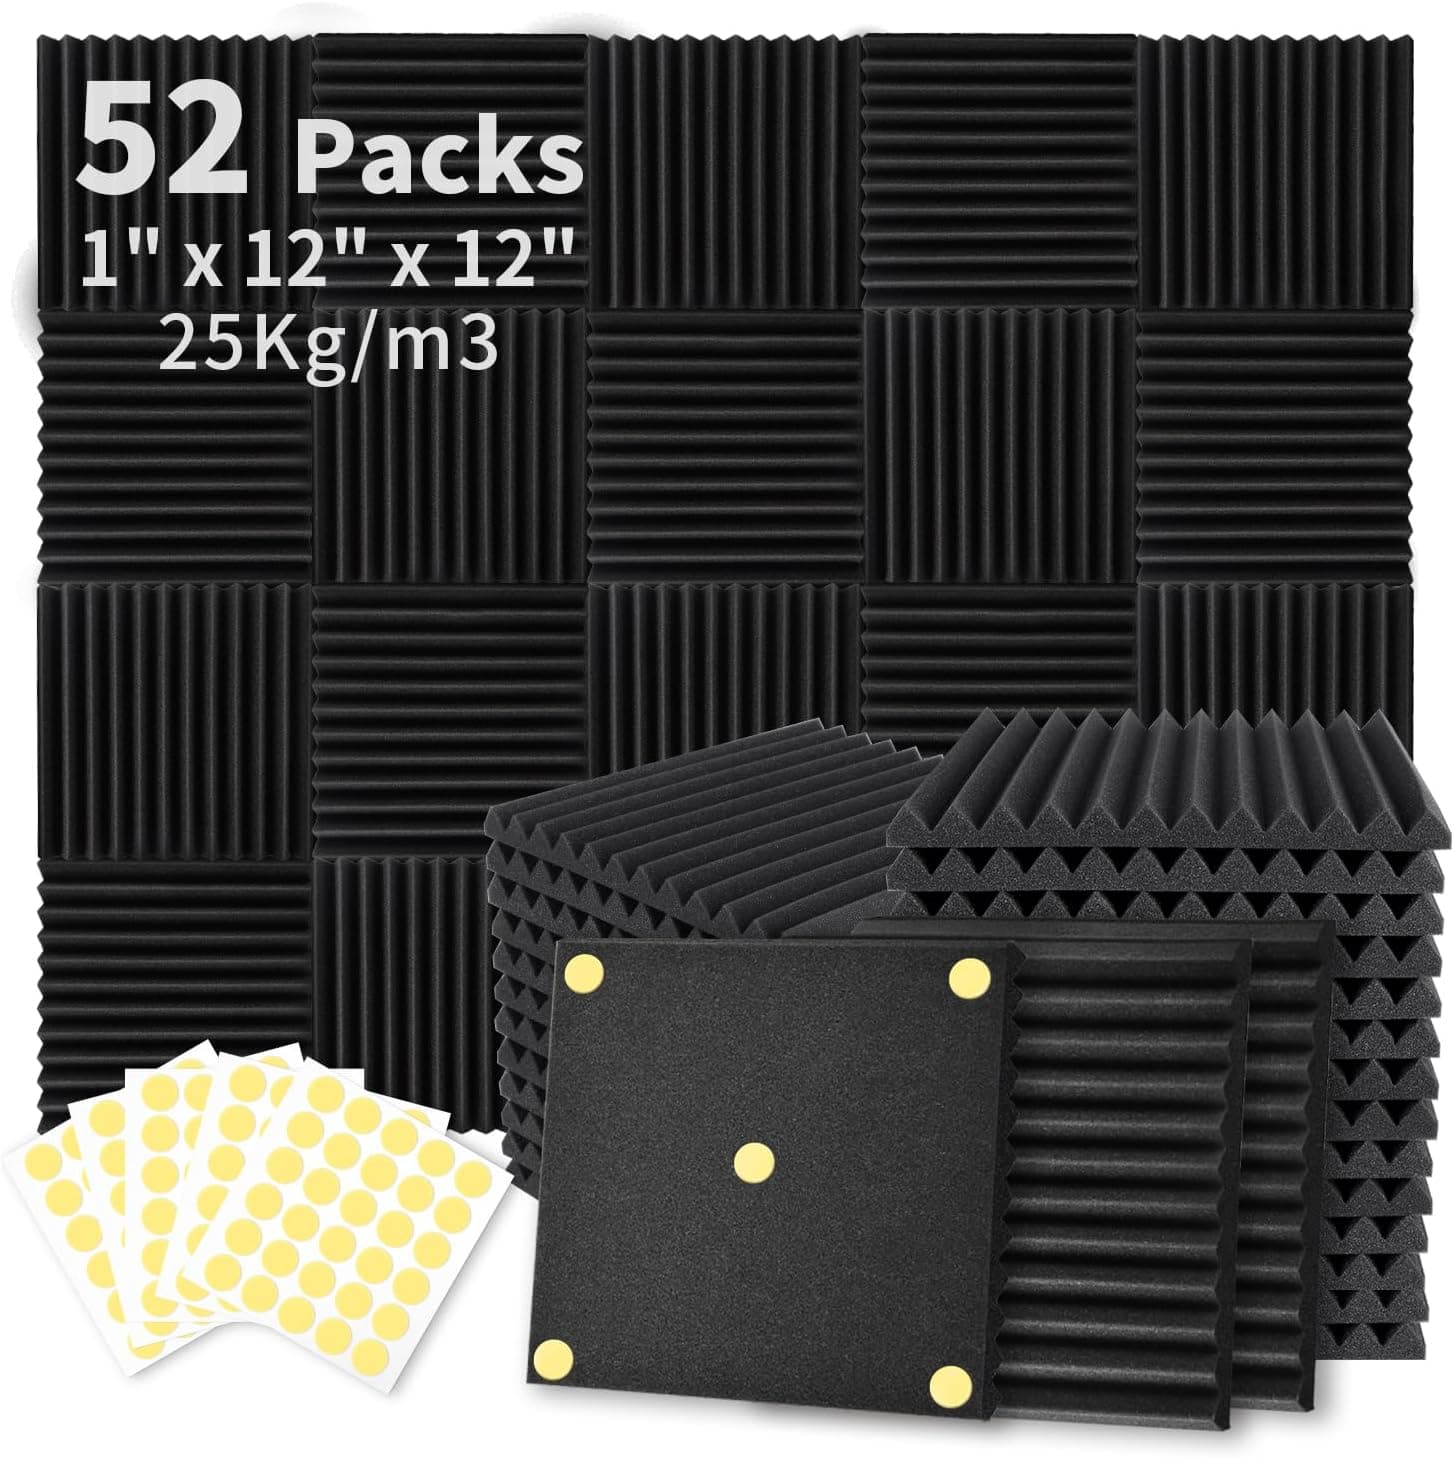
+ 50 Pack covers a good area of wall behind and beside the host
From our guide: Best Acoustic Panels
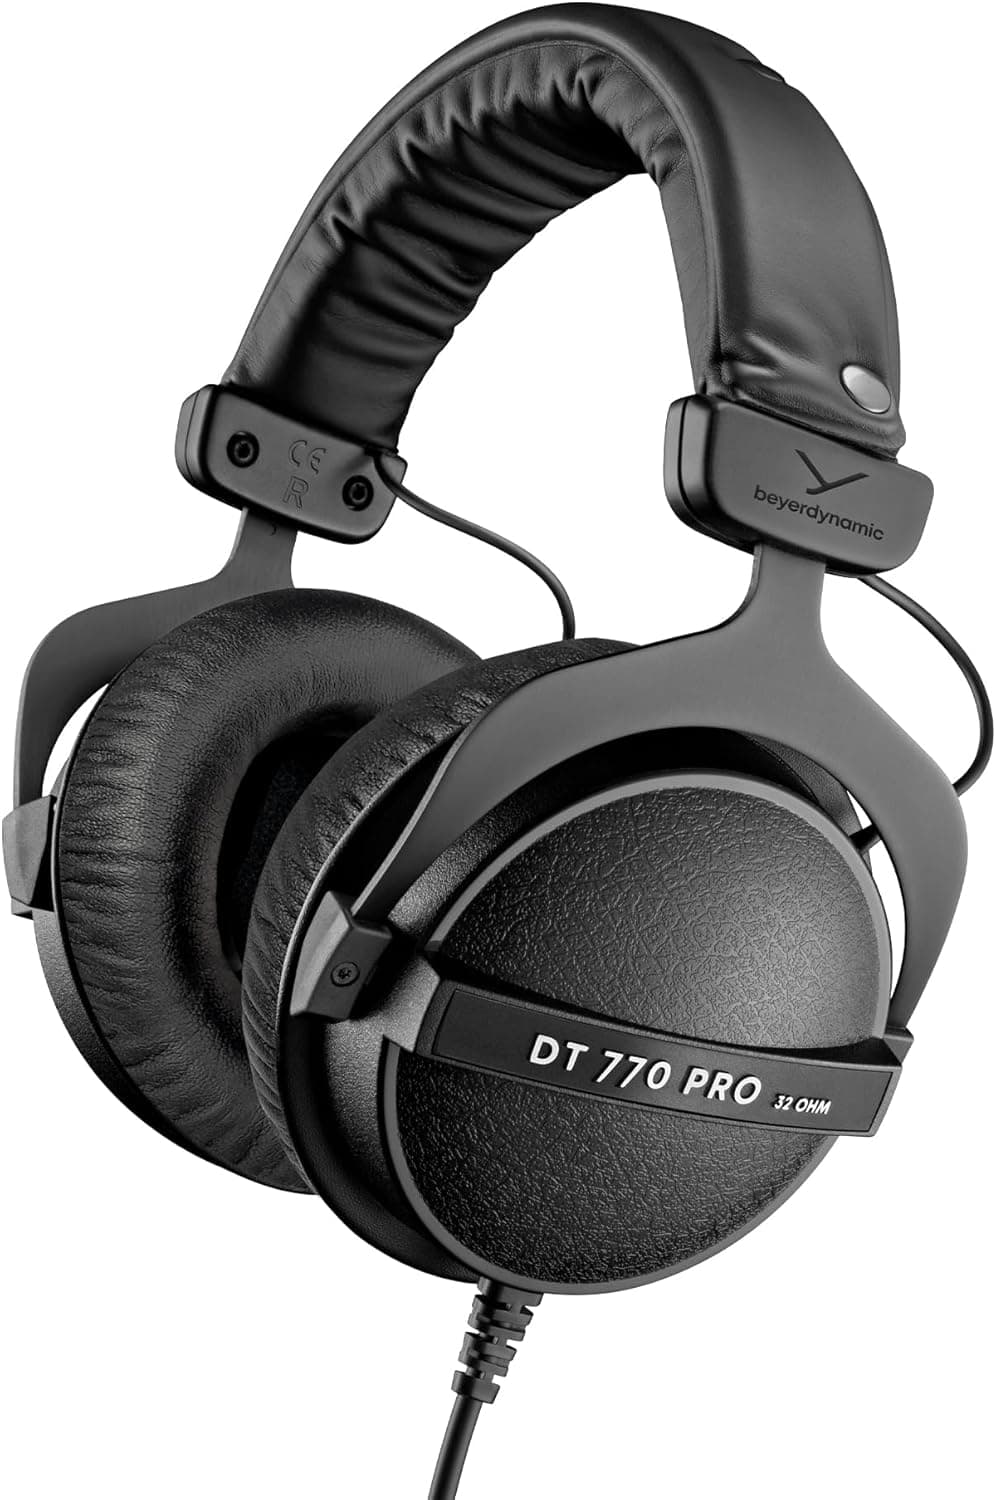
+ 32 Ohm version gets loud from phones, laptops and small recorders
From our guide: Best Closed Back Headphones
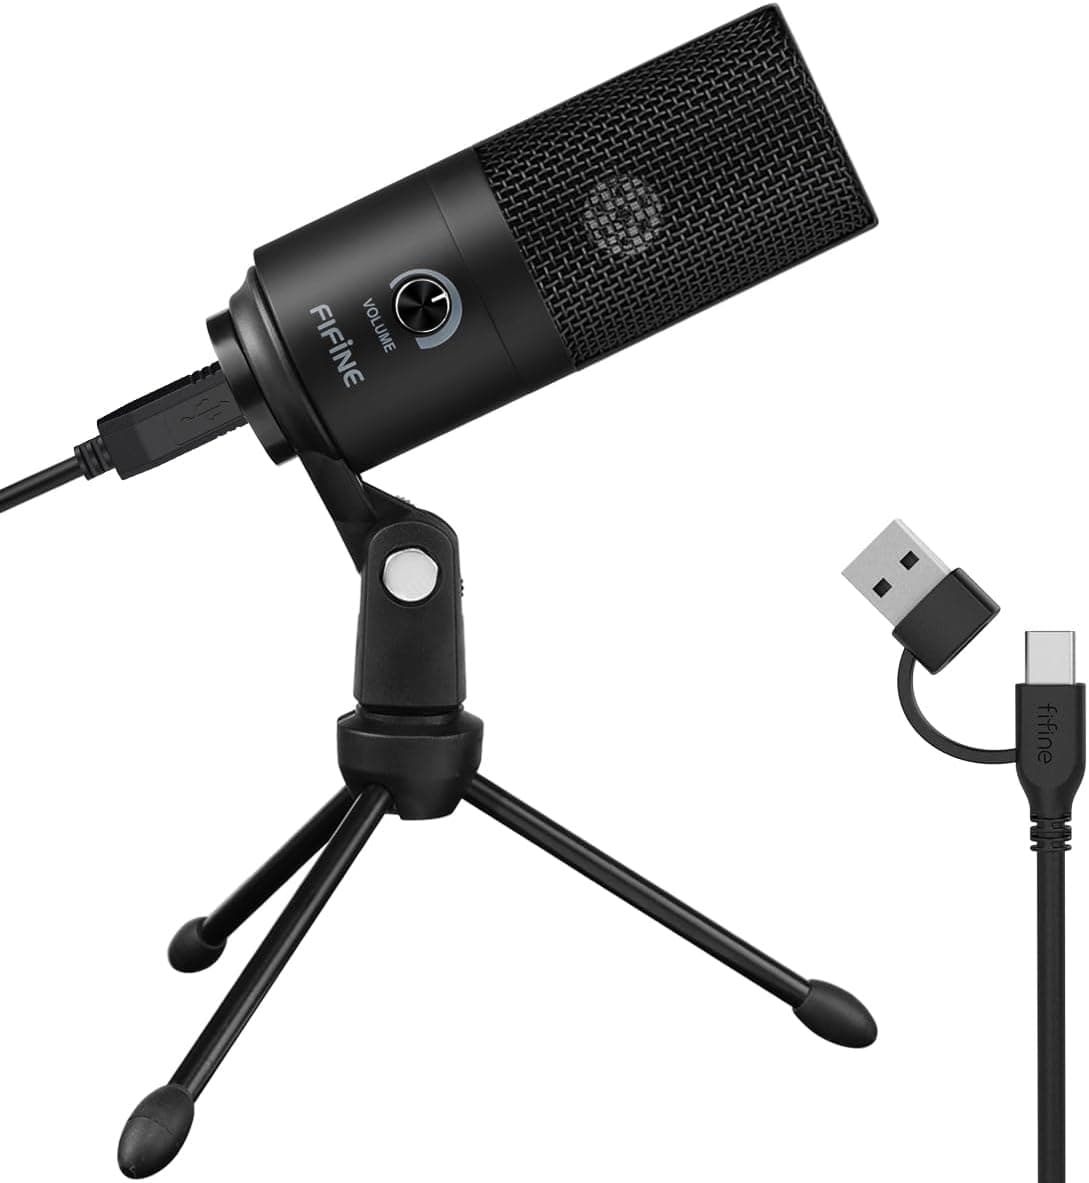
+ Metal body feels sturdier than most plastic mics in this low price bracket
From our guide: Best Budget Microphones
+ 300PCS Double-Side Adhesive is included, so no extra glue is needed
From our guide: Best Acoustic Panels
First, it helps to understand the difference between soundproofing and acoustic treatment, because people often confuse the two. Soundproofing stops sound from entering or leaving a room and requires serious construction. Acoustic treatment, by contrast, shapes the sound within a room and is what you actually need for cleaner recordings. You are not trying to block the neighbor's lawnmower here. You are trying to stop your own voice from reflecting off walls and returning to the mic as muddy echo.
The main tool for voice work is absorption, which soaks up sound energy so it does not bounce around. Soft, thick, porous materials absorb best, which is why a room full of curtains, rugs, cushions, and upholstered furniture already sounds better than a bare one. Purpose-made acoustic panels take this further, and you can mount them on walls at the points where sound reflects most strongly. You do not need to cover everything, though, since an over-deadened room can sound unnaturally lifeless.
To place treatment effectively, focus on the first reflection points, which are the spots on the walls and ceiling where sound from your mouth bounces directly back toward the microphone. A simple way to find them is to imagine sound travelling in straight lines from your mouth to nearby surfaces and back. Treating the wall behind you, the wall in front, and the area above your mic usually delivers the biggest gains for the least effort and cost.
Bass and low-frequency buildup are trickier, since long sound waves accumulate in corners and create a boomy quality. Thin panels do little against them, so if your room sounds boomy, consider thicker absorption or dedicated corner treatment known as bass traps. For voice recording specifically, you can often sidestep the worst of this by choosing a smaller room and positioning yourself away from corners rather than chasing perfect low-end control.
If your budget is tight, you can get remarkably far with everyday items. Hang heavy blankets on the walls around your recording spot, fill a bookshelf with books to scatter reflections, drape thick curtains, and lay down a rug. Recording inside a closet full of clothes is a classic trick because all those soft garments absorb beautifully. Treat the space closest to your microphone first, test as you go by recording short clips and listening critically, and add treatment gradually until your voice sounds close, warm, and free of echo.
Popular right now
- Best Microphone Isolation ShieldsBuying guide
- Best Acoustic DiffusersBuying guide
- Best XLR MicrophonesBuying guide
- Gain Staging BasicsArticle
- Best LED Video LightsBuying guide
- Best Digital RecordersBuying guide
Based on the last 28 days of search and visitor data.