How to Set Up a Home Recording Studio That Sounds Great
Published How we research
A home recording studio does not require a spare room, soundproof walls, or a professional budget. Some of the best-sounding podcasts and voice recordings are captured in bedrooms, closets, and quiet corners. What separates a good home studio from a frustrating one is not square footage or expensive treatment, but thoughtful choices about where you record, how you arrange your gear, and how you tame the sound of your space. With a little planning, you can build a setup that sounds clean and feels genuinely pleasant to work in.
Products from this article
The highest-scoring picks from the buying guides this article links to. Scores are our editorial assessment, not customer ratings.
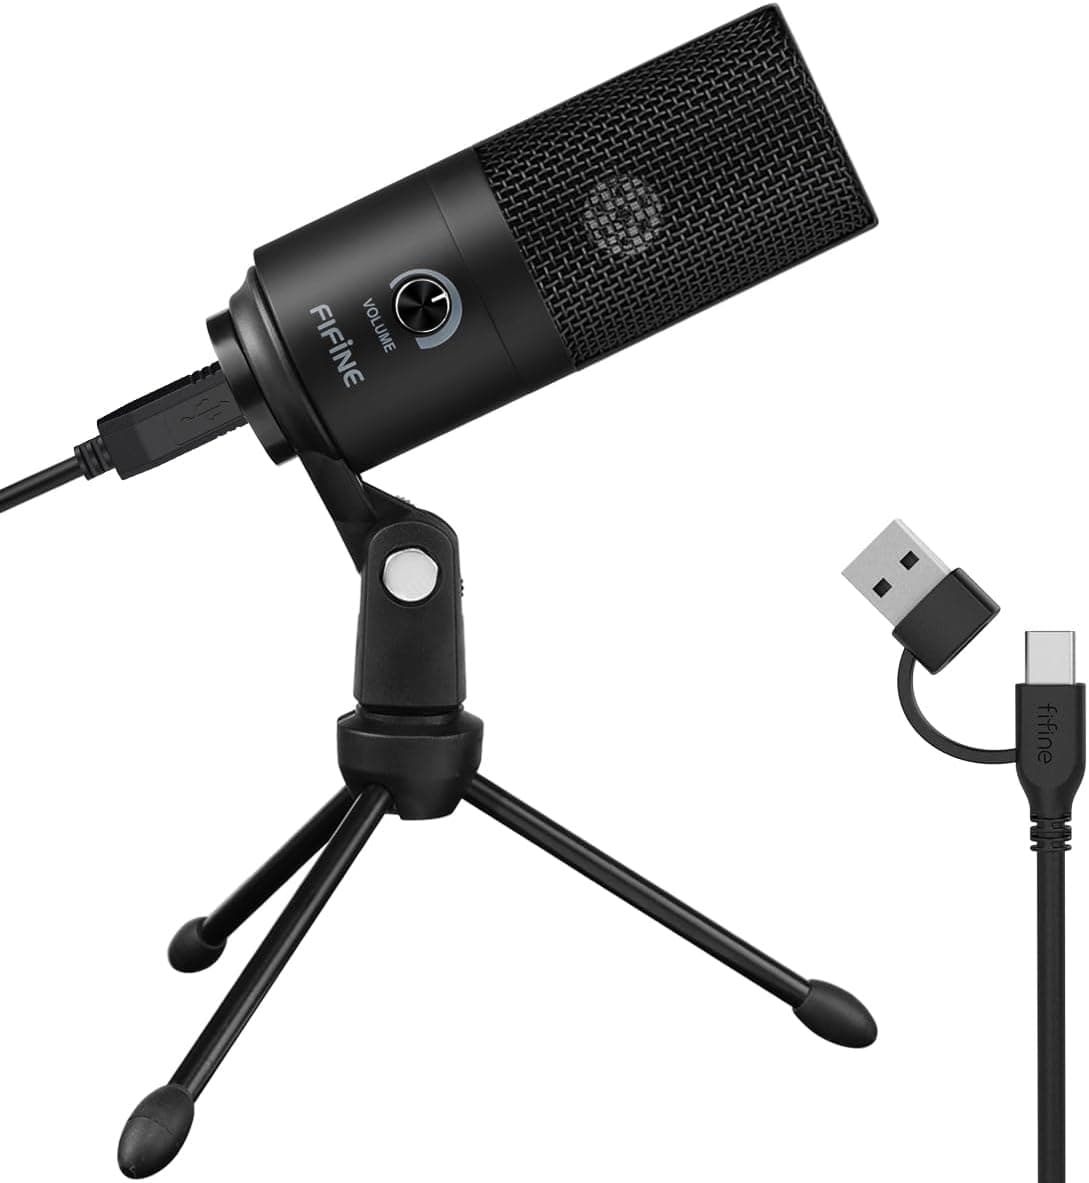
+ Metal body feels sturdier than most plastic mics in this low price bracket
From our guide: Best Budget Microphones
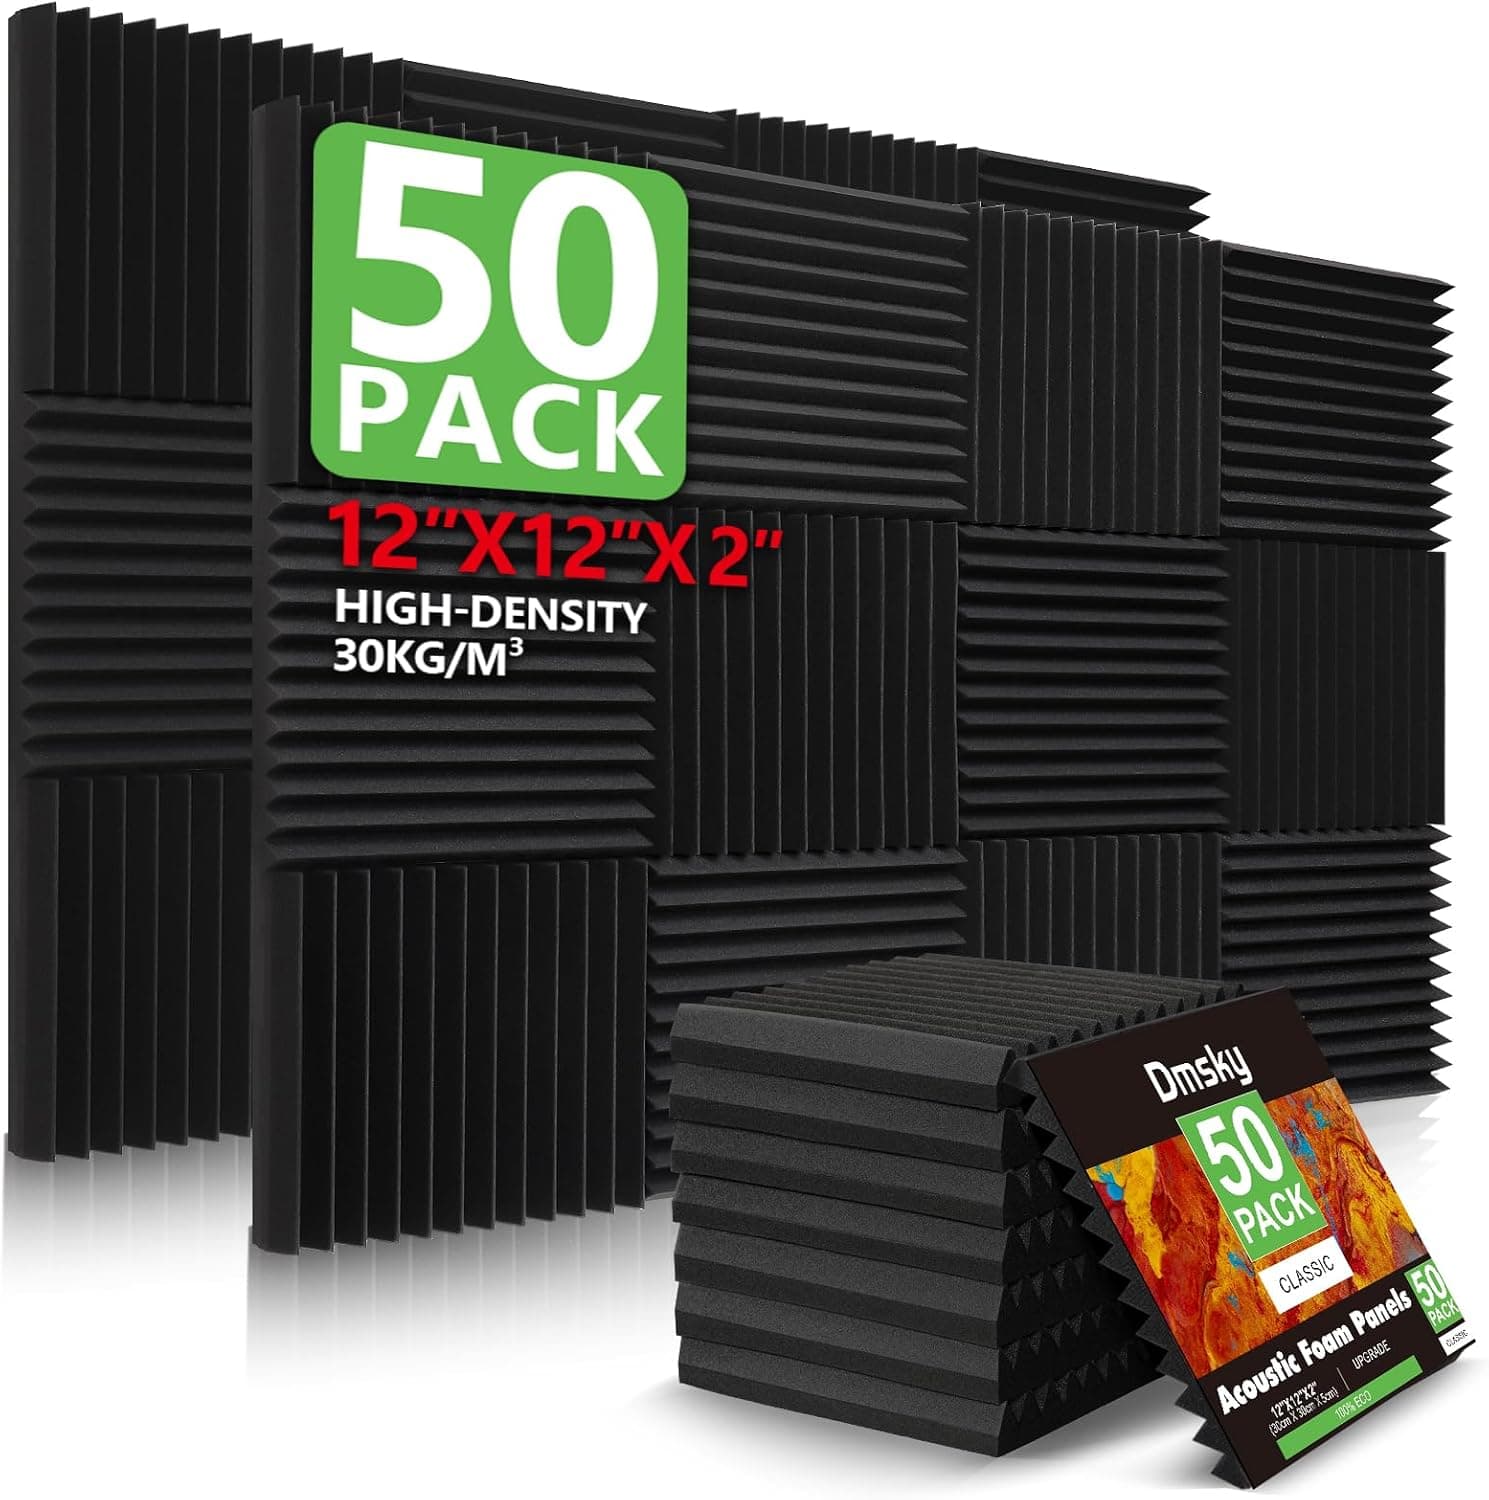
+ 50 Pack covers a good area of wall behind and beside the host
From our guide: Best Acoustic Panels
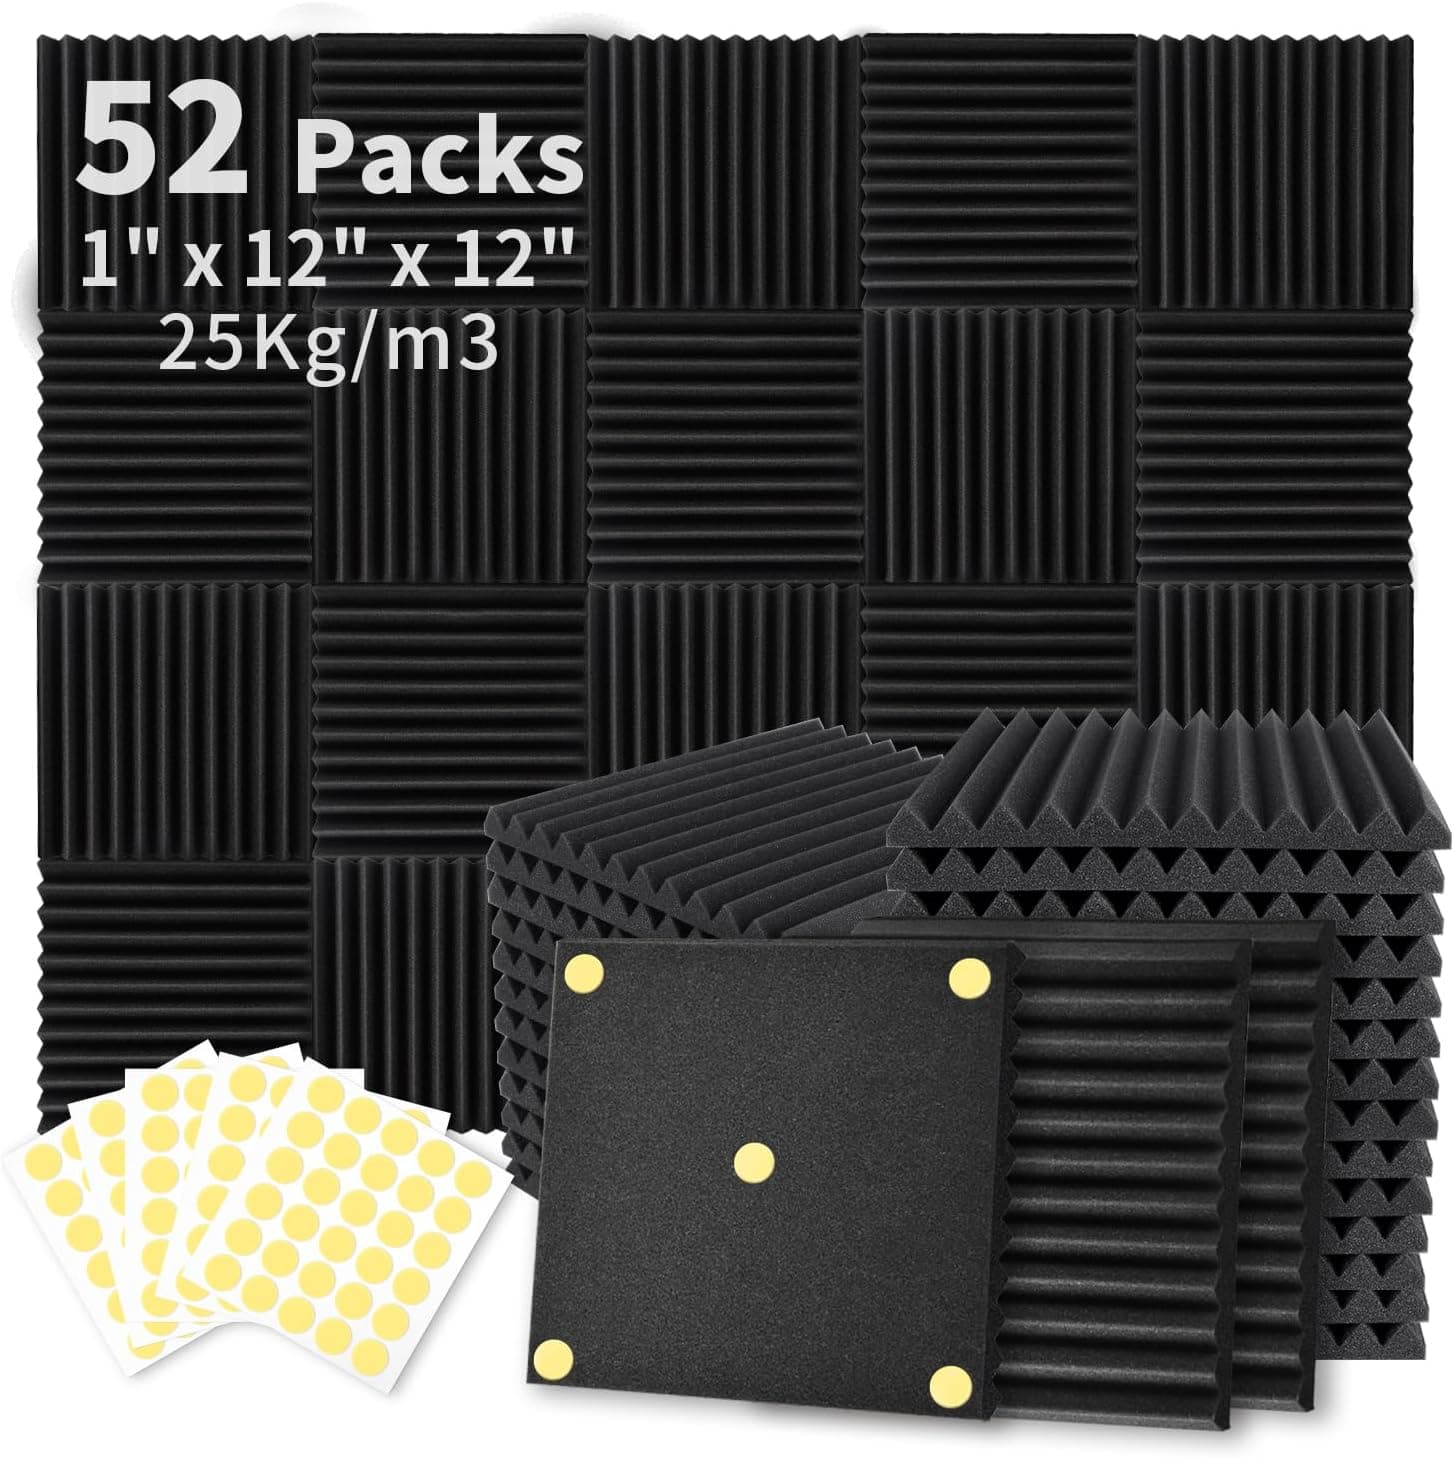
+ 300PCS Double-Side Adhesive is included, so no extra glue is needed
From our guide: Best Soundproofing Foam
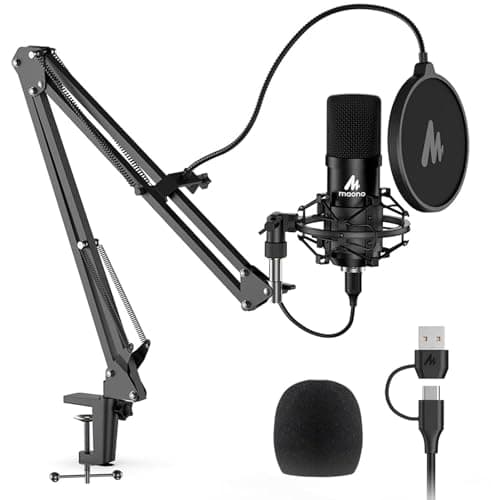
+ Kit includes a scissor arm stand with base, metal shock mount, pop filter and foam windscreen
From our guide: Best Budget Microphones
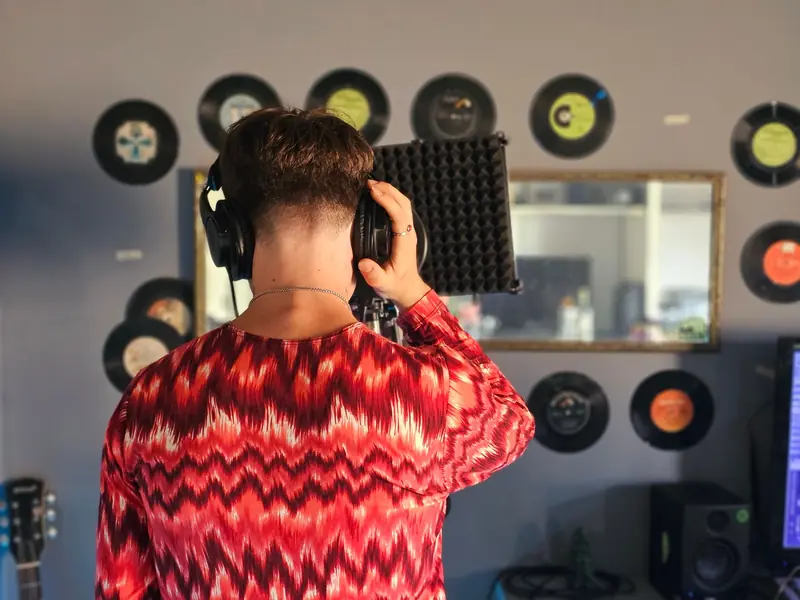
Start by choosing the right room, because the space itself has a bigger impact on your sound than almost anything else. Look for a smaller room with plenty of soft surfaces, such as carpet, curtains, and upholstered furniture, since these absorb sound and reduce echo. Avoid large, empty rooms with hard floors and bare walls, which create a boomy, hollow quality that is difficult to fix later. A cozy, cluttered room is your friend here, even if it does not look like a studio.
Once you have your room, think about mic placement and your listening position. Position yourself away from the center of the room and avoid recording with your back directly against a bare wall, as reflections bouncing straight back into the mic can muddy your voice. Facing into a corner filled with soft materials, or toward a bookshelf full of books, can noticeably improve clarity. Keep the microphone close to your mouth for a warm, focused tone that naturally overpowers the room.
Arranging your gear for comfort and workflow matters more than beginners expect. Set your microphone on a sturdy boom arm so you can position it precisely without hunching. Keep your interface, if you use one, within easy reach so you can adjust levels quickly. Route cables tidily so they do not tug or tangle mid-session. A workspace that feels good to sit in encourages you to record more often and helps you stay relaxed, which comes through in your voice.
Acoustic treatment is where many people overspend or overthink. You do not need to cover every wall in foam. A few well-placed absorption panels at the points where sound reflects, along with the soft furnishings you already have, go a long way. If you are on a tight budget, thick blankets, a filled bookshelf, and heavy curtains do a surprising amount of work. Treat the space around your mic first, since that is what your recording captures most directly.
Finally, control the practical details that quietly ruin recordings. Silence noisy fans, unplug buzzing appliances, and record at times when your home and street are quiet. Turn off notifications so nothing chimes mid-sentence. Do a short test recording and listen back critically before every real session. A home studio is never truly finished, and part of the fun is refining it over time, but with a smart room, tidy gear, and light treatment, you can start producing recordings you are proud of right away.
Popular right now
- Best Microphone Isolation ShieldsBuying guide
- Best Acoustic DiffusersBuying guide
- Best XLR MicrophonesBuying guide
- Gain Staging BasicsArticle
- Best LED Video LightsBuying guide
- Best Digital RecordersBuying guide
Based on the last 28 days of search and visitor data.